6 Setups
Machine Clock/Timers
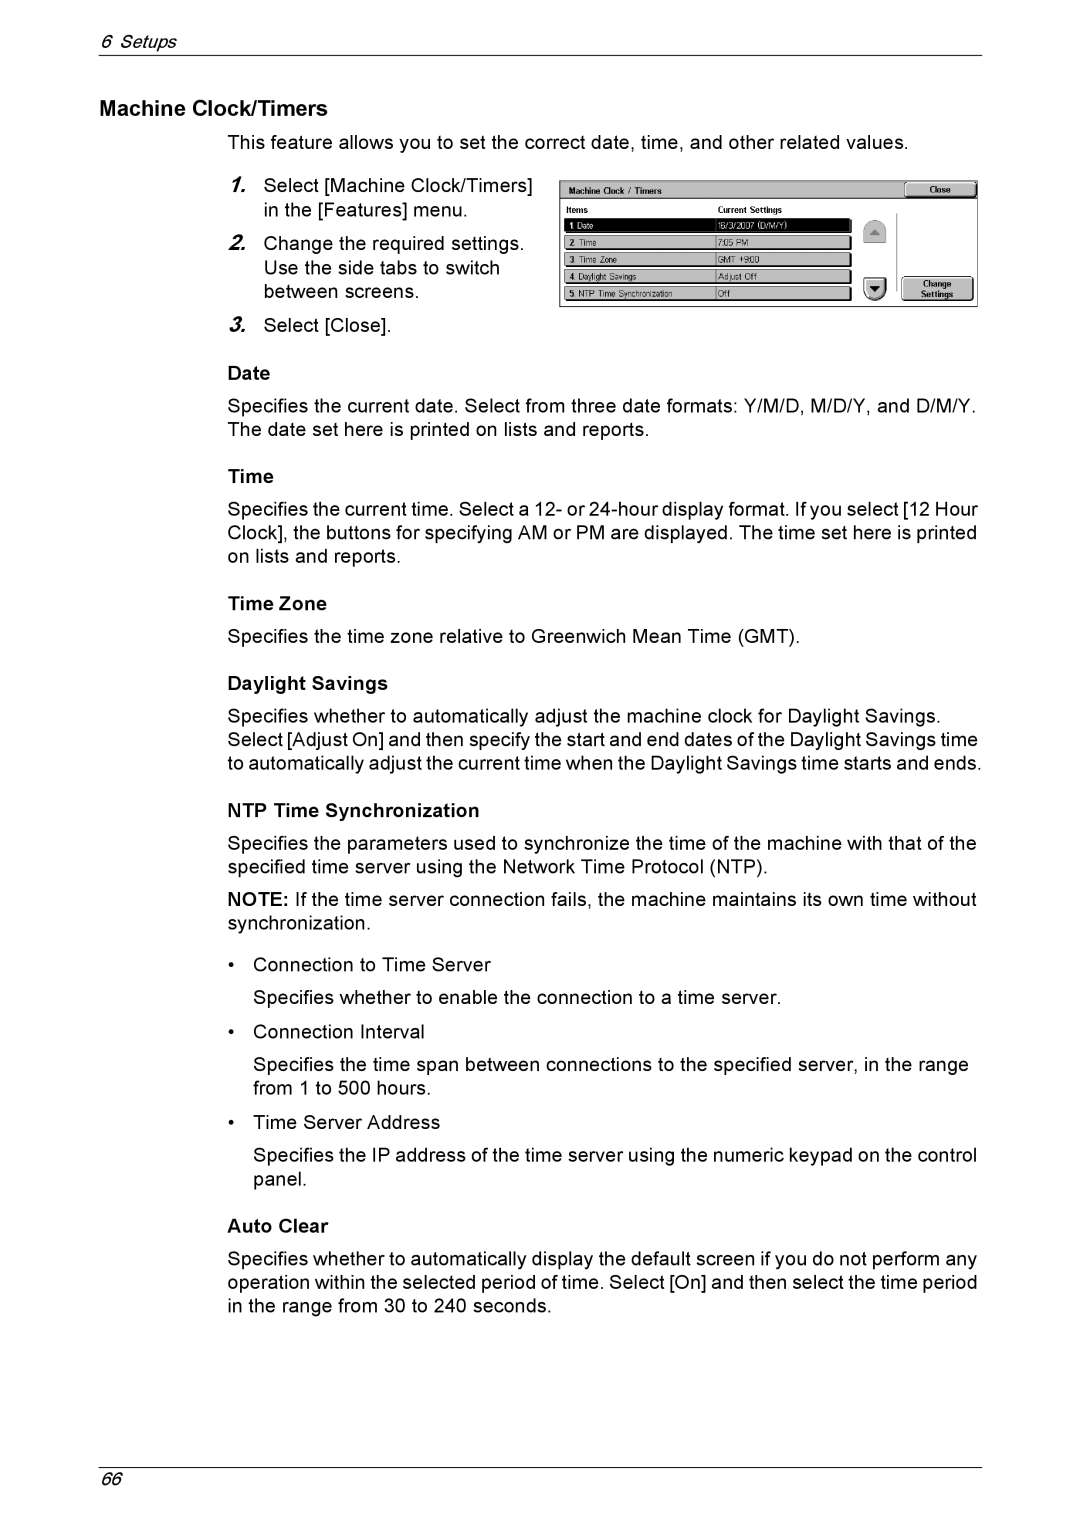
This feature allows you to set the correct date, time, and other related values.
1.Select [Machine Clock/Timers] in the [Features] menu.
2.Change the required settings. Use the side tabs to switch between screens.
3.Select [Close].
Date
Specifies the current date. Select from three date formats: Y/M/D, M/D/Y, and D/M/Y. The date set here is printed on lists and reports.
Time
Specifies the current time. Select a 12- or
Time Zone
Specifies the time zone relative to Greenwich Mean Time (GMT).
Daylight Savings
Specifies whether to automatically adjust the machine clock for Daylight Savings. Select [Adjust On] and then specify the start and end dates of the Daylight Savings time to automatically adjust the current time when the Daylight Savings time starts and ends.
NTP Time Synchronization
Specifies the parameters used to synchronize the time of the machine with that of the specified time server using the Network Time Protocol (NTP).
NOTE: If the time server connection fails, the machine maintains its own time without synchronization.
•Connection to Time Server
Specifies whether to enable the connection to a time server.
•Connection Interval
Specifies the time span between connections to the specified server, in the range from 1 to 500 hours.
•Time Server Address
Specifies the IP address of the time server using the numeric keypad on the control panel.
Auto Clear
Specifies whether to automatically display the default screen if you do not perform any operation within the selected period of time. Select [On] and then select the time period in the range from 30 to 240 seconds.
66
