Chapter 7 Interface Profiles
Creating an ATM Interface Profile
Figure 7-3 Prompt Window
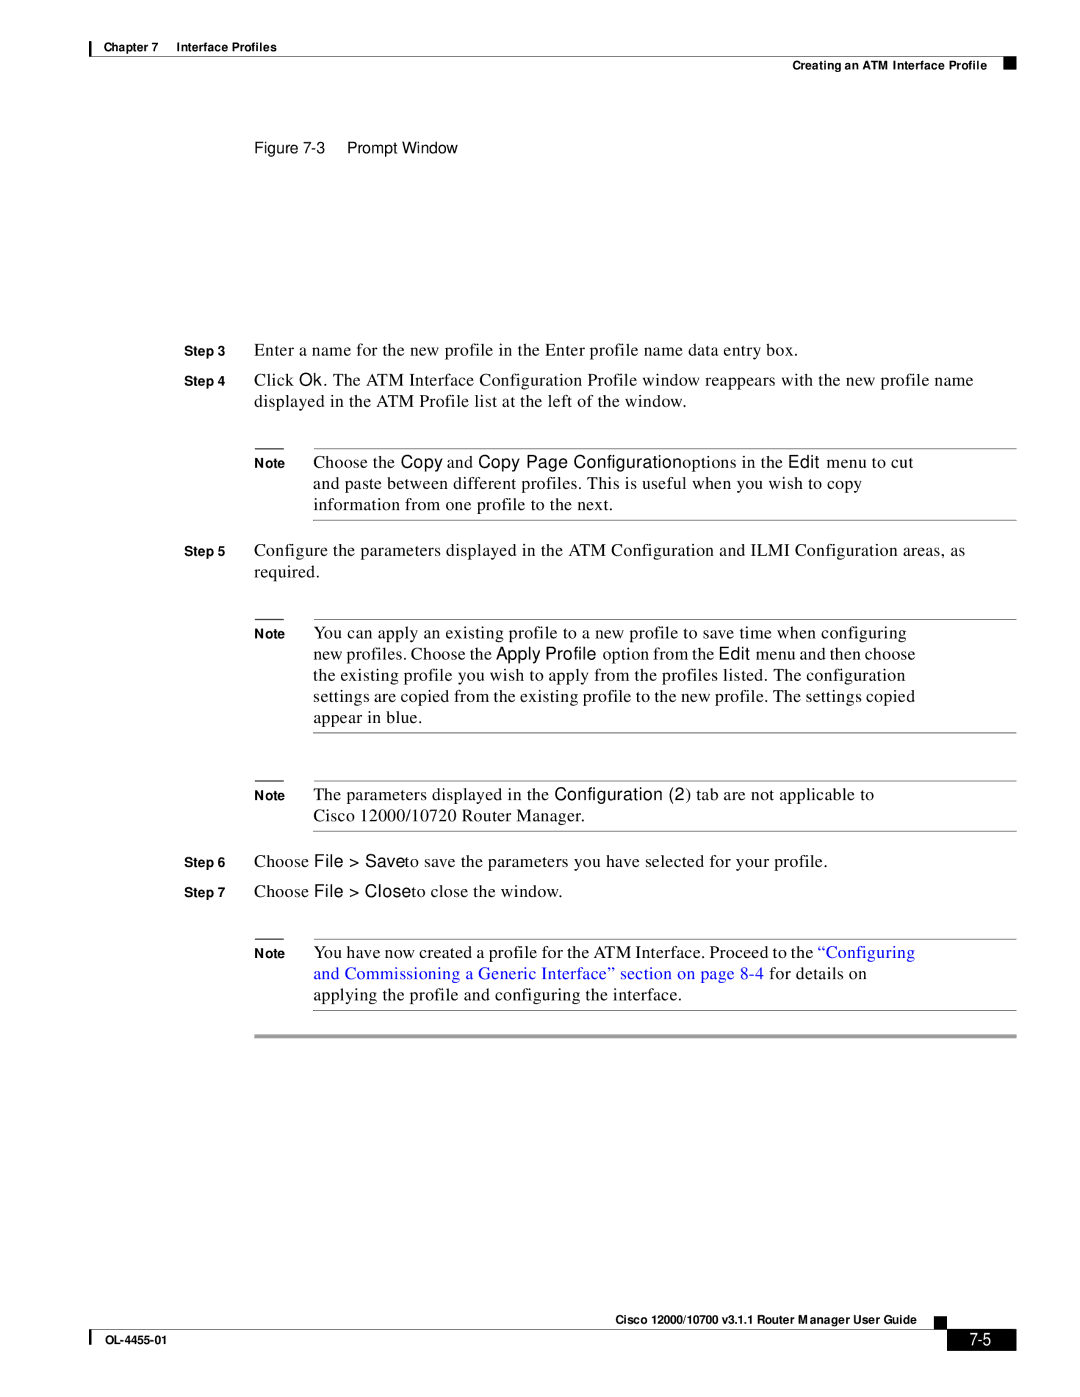
Step 3 Enter a name for the new profile in the Enter profile name data entry box.
Step 4 Click Ok. The ATM Interface Configuration Profile window reappears with the new profile name displayed in the ATM Profile list at the left of the window.
Note Choose the Copy and Copy Page Configuration options in the Edit menu to cut and paste between different profiles. This is useful when you wish to copy information from one profile to the next.
Step 5 Configure the parameters displayed in the ATM Configuration and ILMI Configuration areas, as required.
Note You can apply an existing profile to a new profile to save time when configuring new profiles. Choose the Apply Profile option from the Edit menu and then choose the existing profile you wish to apply from the profiles listed. The configuration settings are copied from the existing profile to the new profile. The settings copied appear in blue.
Note The parameters displayed in the Configuration (2) tab are not applicable to
Cisco 12000/10720 Router Manager.
Step 6 Choose File > Save to save the parameters you have selected for your profile.
Step 7 Choose File > Close to close the window.
Note You have now created a profile for the ATM Interface. Proceed to the “Configuring and Commissioning a Generic Interface” section on page
Cisco 12000/10700 v3.1.1 Router Manager User Guide
|
| ||
|
|